One of the little things that has always bugged me while driving Diamond has been the lack of a place to put things like my wallet or a travel mug. I’ve had to hold things in between my legs or let them either fall in between or slide across the seats — none of which is ideal. So, I decided to put an end to that and craft up a center console with a tray and a couple of cupholders.
Making a Template
I started by grabbing an old cardboard box and cutting it into a more manageable size. I was undecided on how big I wanted the center console to be, but once I started to place the cardboard down over the transmission tunnel, I realized I didn’t want to block the controls for the floor vents, which sit at the bottom of the dashboard. The one piece of cardboard proved to be enough for the general shape (though later, I did make the shape more square rather than angled so that it would be easier to cut out of wood). I cut out more cardboard pieces for the front and back of the console and taped everything together.
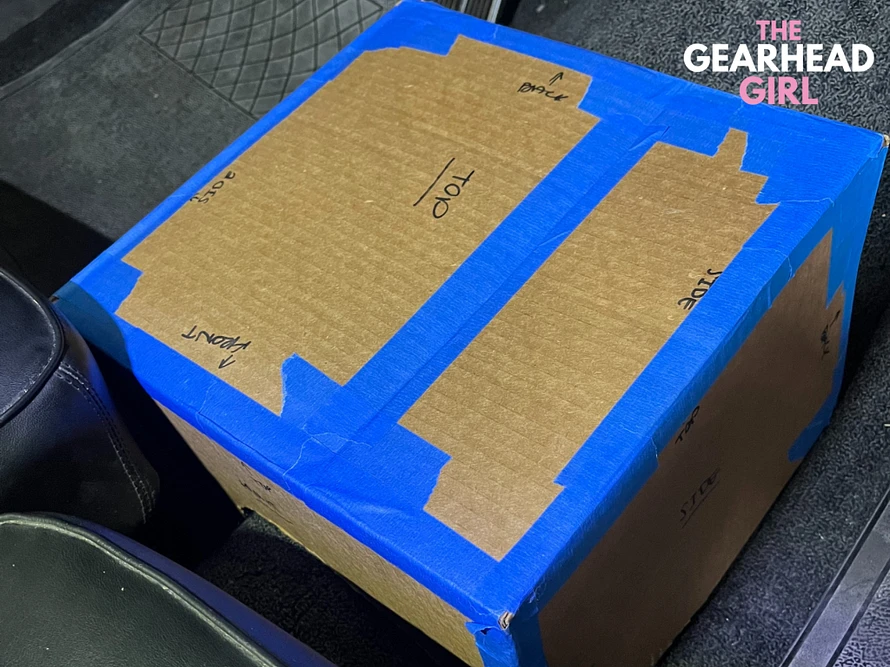
Once everything looked good enough, I took the template home and made a cleaner version to fix up some of the rough cuts. I took it back for a test fit and made a few more adjustments, and then I was ready to really start working.
Putting the Center Console Together
I chose half-inch plywood for this project for its price and rigidity, and cut one of those 2-foot-by-4-foot “handi panels” with a jigsaw since there were curves in the design. I followed that up by using an orbital sander and tapered the corners some so that they weren’t square. Using wood glue and brad nails, I secured the pieces together. After the wood glue was dry, I cut out and sewed some faux leather fabric that would be the cover for the center console.

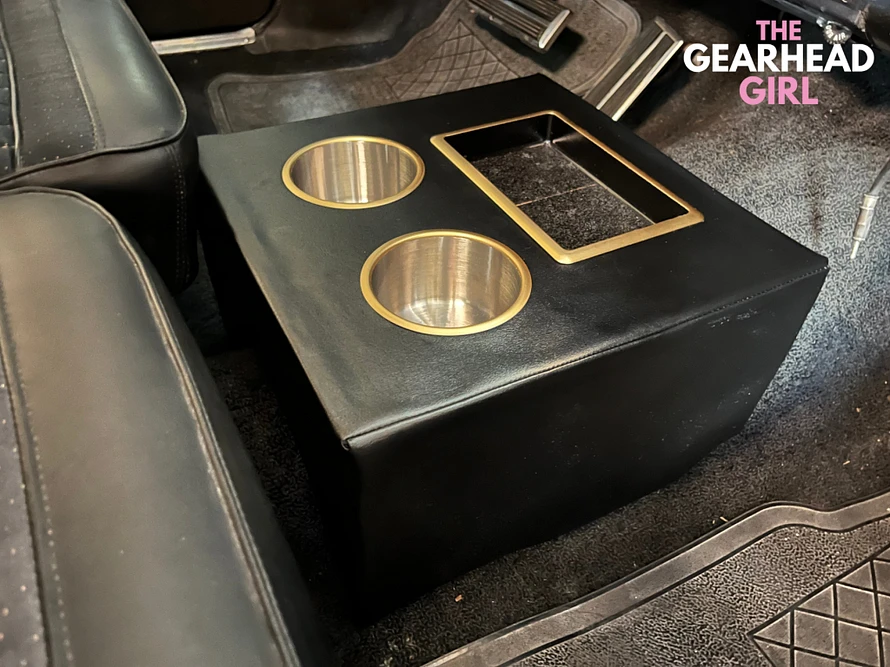
I designed a tray that would act as a place to put my phone and wallet on 3-D modeling software and had my husband print it out on the 3-D printer, which took probably longer than a day. Once it was printed, I painted the tray black with a gold rim (using some of the leftover black wheel paint from when I worked on Diamond’s new wheels), and I also painted some sticky-back cork black to place on the inside to create a more grippy surface. After spraying some adhesive on the wood and inside of the fabric, I placed the fabric on the console and then added the tray and cupholders (on which I had also painted the rims gold).
The end result may not be the most perfect thing, as some of the imperfections in the wood show through the fabric. (I originally thought of using some quilt batting to make it a bit of a “soft touch” surface but apparently didn’t think of that while cutting out the fabric and had no extra allowance for it, but that would’ve helped conceal the imperfections.) But overall, I’m really pleased with how everything turned out. The colors work well with the rest of Diamond’s interior, and the gold paint ties in nicely with the VIP emblems and accents. And now that I have some leftover plywood to play with, I’ll work on putting another console together for Olivia to replace the cheap plastic one that’s currently in her.
Featured Tools, Parts, and Materials
(Some links may be affiliate links, which means I will earn a commission if you purchase a product at no extra cost to you.)