When I got bodywork done on Diamond last year, the shop didn’t install new seals all around. I didn’t mind it since parts can be difficult to source for a 1967 Plymouth VIP, but it was something that needed to be done. And when Diamond was in a (different) shop for the radiator work recently, she sat outside in the rain a few times, and water ended up inside the trunk. So, I figured it was finally time to put on the door seals and trunk weatherstripping.

Installing the Front Door Seals
Late last year, I ordered some door seals from Dante’s Mopar Parts (this isn’t a sponsored post or anything; that’s just where I got them from). They took a few weeks to arrive since they’re made to order, which was fine since I wasn’t in any sort of rush. I installed the seals for the rear doors soon after they arrived, but I never got around to putting on the ones for the front doors.
The front door seals were a little more challenging than I remember the rear ones being, and it ended up being a bit of a learning experience, especially on the driver’s side as that’s the one I did first. The clips in the rubber seal didn’t want to stay in the holes in the door and would pop out, and a couple of times, they popped out of the seal but stayed in the door, requiring me to grab a pair of pliers to (carefully) pull them out and wrestle them back into the seal. It was also difficult to see the holes along the bottom of the door, as well as the holes on the hinge side of the passenger door since I couldn’t open it all the way due to space constraints.

A portion of the wide rubber end that goes on the hinge side of the door is supposed to tuck underneath the interior door panel, too. Anyone who knows me knows I hate dealing with doors, and of course I wanted to avoid disassembling things. To work around it, I trimmed off the corner that goes up against the door panel, and while that part of the door seals might not be perfect, it works, and that’s all that matters to me.

The ends of the front door seals also need to be cemented on — a step mentioned in the service manual and not required for the rear seals. The wide rubber end also seems to require fasteners, but Diamond didn’t have any (if she did, they were lost during the bodywork) and the holes in the rubber didn’t align with the ones in the doors. I used black 3M weatherstrip adhesive on the ends, and then put painter’s tape on to hold them in place while the adhesive dried. The next day, they were good to go.
Installing the Trunk Weatherstripping
Putting the weatherstripping on the trunk oddly proved to be the easier task, though it was messier. The weatherstrip adhesive likes to ooze out of the tube a little; thankfully I had some paper towels available, so I put one down to rest the tube on when I wasn’t handling it. The adhesive also made a mess on my hands throughout the installation. (By the way, nail polish remover works great for getting that stuff off, though it’ll dry out your skin pretty good.)

The weatherstripping I got from Detroit Muscle Technologies (again, not a sponsored post) at the Chrysler swap meet in Indianapolis a few weeks ago works for a variety of Mopar body styles, and it was super long to accommodate C-body trunks. It has a V-shaped channel that faces outward from the car (so, not pointing toward the inside of the trunk), and there’s a flat side and a side with a little bit of a ridge on it. The flat side is what touches the trunk’s surface.
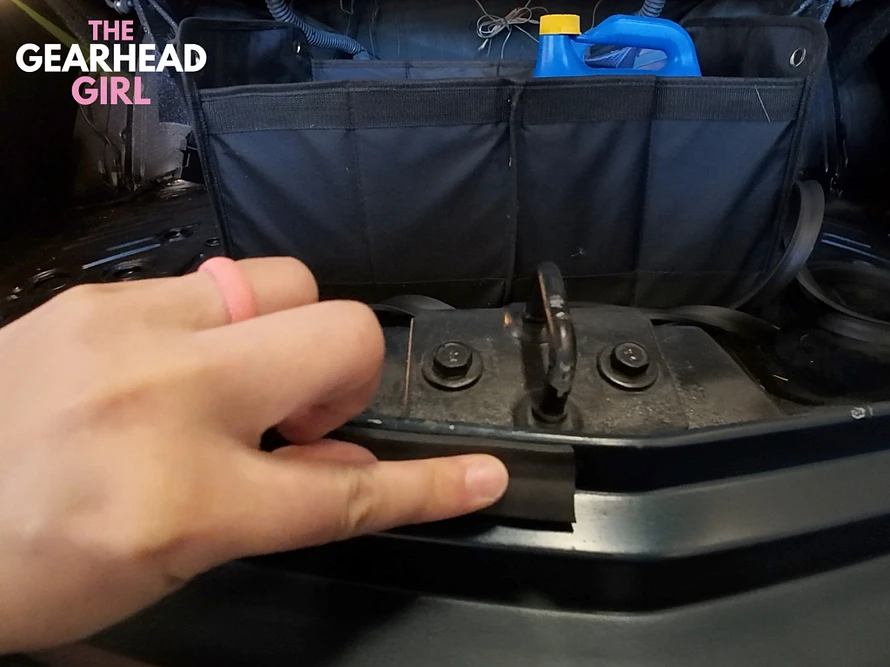
Starting from the lock striker, I worked around the trunk in sections, squeezing out a line of adhesive, laying the weatherstripping on top, and taping it down. I peeled off a few pieces of the painter’s tape at a time to make it easier to grab-and-go while trying to hold the weatherstripping in place after putting the adhesive down.
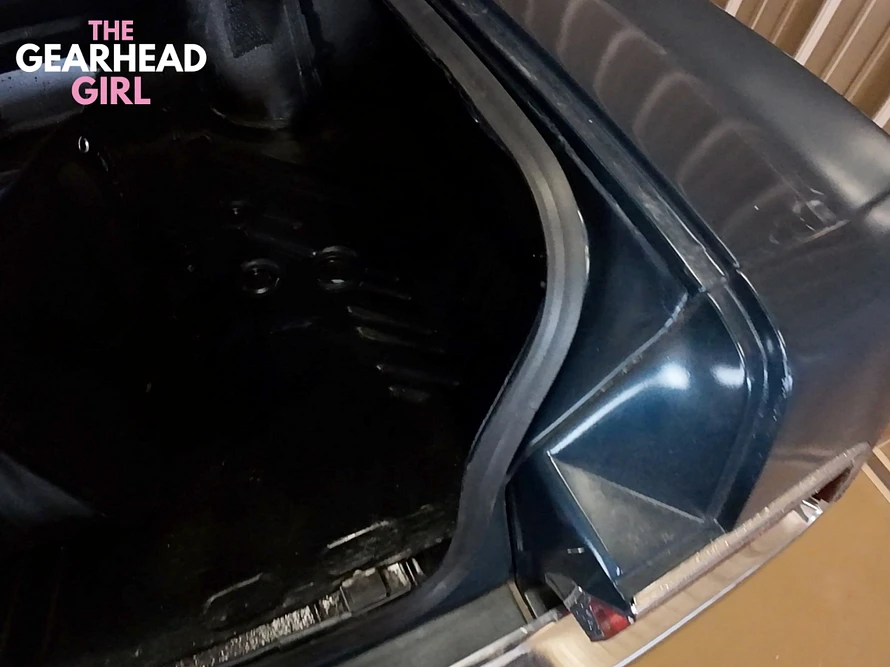
Once I made it all the way around, I let the adhesive dry overnight with the trunk lid open, and I came back to the storage unit the next day to remove the tape and snip off the excess weatherstripping. Though there are a couple of areas where the weatherstripping ended up being a little wavy, I’m pleased with how it turned out and am glad that I won’t be getting any more water inside the trunk should Diamond be stuck out in the rain again.